
Your Ultimate Backpacking Checklist for 2025: The Top 10
- Epic Brilliance
- Jun 21, 2025
- 19 min read

Gear Up for Adventure: The Modern Backpacker's Blueprint
Stepping into the wild requires more than just a sense of adventure; it demands smart preparation and the right gear. For the sports-minded backpacker, every ounce matters, and every piece of equipment is a critical component of a larger system designed for performance, safety, and efficiency. This isn't just another generic packing list. This is a deep dive into the ten foundational gear categories that form the backbone of any successful multi-day trek.
We'll move beyond the obvious, exploring the "why" behind each choice, offering pro-level tips on selection, and providing actionable insights to optimize your setup. Whether you're planning a weekend escape or a month-long thru-hike, this comprehensive backpacking checklist is your blueprint for building a reliable, lightweight, and effective kit. A well-curated pack lets you focus on the journey, not just the load on your back.
Our goal is to dissect each essential item, ensuring you're equipped with the knowledge to make informed decisions and pack with a professional mindset. We will cover:
Backpack
Shelter System (Tent/Tarp)
Sleep System (Sleeping Bag + Pad)
Water Filtration System
Navigation Tools (Map, Compass, GPS)
First Aid Kit
Headlamp and Backup Lighting
Weather Protection (Rain Gear)
Multi-tool or Knife
From the shelter that becomes your mountain home to the navigation tools that guide your path, this guide ensures you are prepared for anything the trail throws your way.
1. Backpack
The backpack is the cornerstone of any backpacking checklist, serving as the foundational piece of gear that carries your entire mobile world. More than just a bag, a modern backpacking pack is a sophisticated piece of equipment designed to make carrying significant weight over long distances as comfortable and efficient as possible. Brands like Osprey, Gregory, Deuter, and ultralight-focused Hyperlite Mountain Gear have engineered advanced suspension systems that transfer the load from your shoulders to your hips, the part of your body best equipped to bear weight. This technology, combined with features like adjustable torso lengths, padded hip belts, and ventilation channels, is crucial for preventing fatigue and injury on the trail.
Choosing the Right Pack
Selecting the correct backpack is paramount for a successful trip. The most critical factor is a proper fit. Visiting an outdoor retailer to be professionally measured for your torso length and hip size is a non-negotiable first step. Once you have your size, consider the pack's volume, measured in liters (L). This depends entirely on the length of your trips and how streamlined your gear is. For instance, thru-hikers on the Appalachian Trail might use a 65L pack to accommodate food resupplies for a week, while an ultralight minimalist on the Pacific Crest Trail could manage with a sub-40L frameless pack.
To help guide your decision, here is a quick reference for matching pack volume to trip length.

This guide provides a solid starting point, but remember to adjust based on your specific gear, season, and personal packing style.
Pro-Tips for Packing and Maintenance
Once you have your pack, proper use is key. Before committing, test it with weight, either in the store or at home, to check for pressure points. When packing, place your heaviest items, like your food bag and water reservoir, close to your spine and centered between your shoulder blades. This maintains your center of gravity. Lighter, more compressible items like a sleeping bag can go at the bottom. Use the pack’s compression straps to cinch everything down tightly, which prevents the load from shifting and throwing you off balance while navigating uneven terrain.
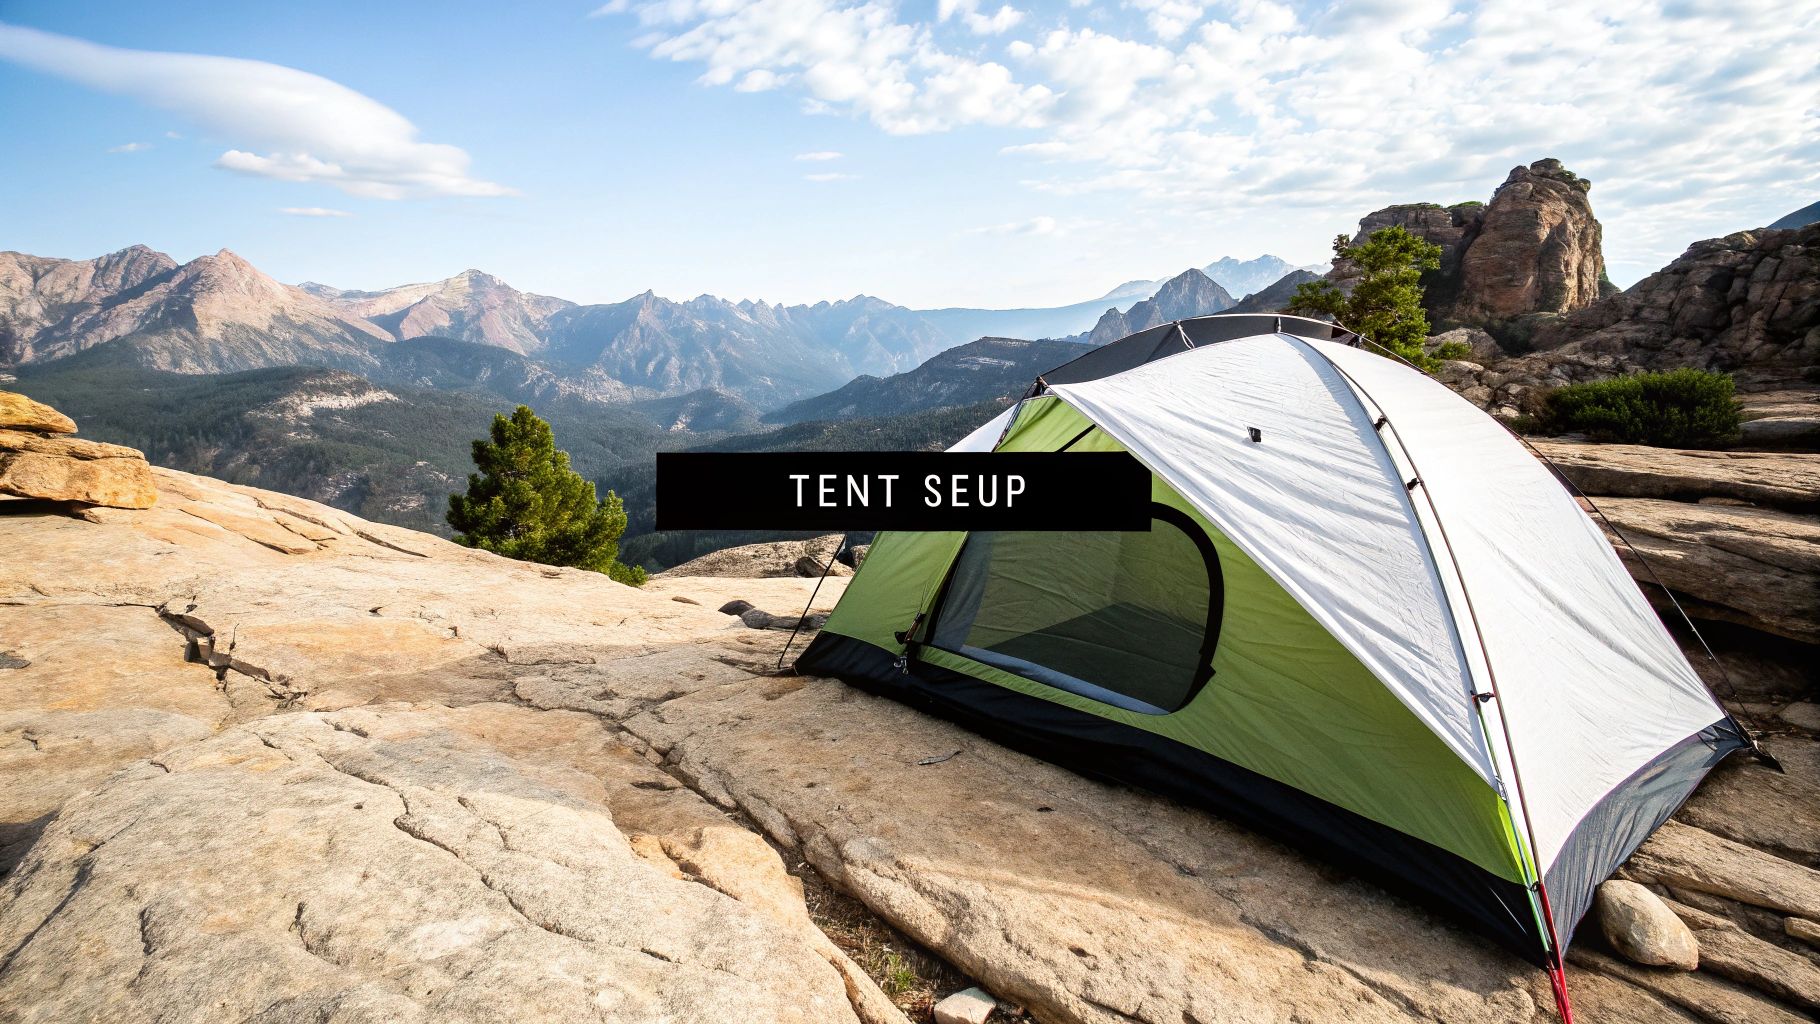
2. Shelter System (Tent/Tarp)
Your shelter system is your mobile home in the wilderness, an essential part of any backpacking checklist that provides critical protection from weather, insects, and wind. More than just a roof, a modern backpacking shelter is a marvel of engineering, balancing weight, durability, and livability. Leading brands like Big Agnes, MSR, and Hilleberg leverage advanced materials and innovative designs to create reliable sanctuaries. These systems range from robust, four-season mountaineering tents built to withstand storms on Denali to minimalist ultralight tarp shelters used by thru-hikers covering thousands of miles on the Pacific Crest Trail.
Choosing the Right Shelter
Selecting the appropriate shelter system depends on the conditions you anticipate and your personal comfort-to-weight tolerance. The first decision is between a traditional double-wall tent, a single-wall tent, or a tarp system. Double-wall tents offer excellent weather protection and condensation management, making them ideal for beginners and wet climates. Ultralight single-wall tents and tarps, pioneered by companies like Zpacks and Tarptent, drastically reduce pack weight but require more skill in campsite selection and setup to manage moisture and ensure stability.
Consider these factors when making your choice. A freestanding tent is easier to pitch on rocky ground, while a non-freestanding shelter, which relies on trekking poles and stakes for structure, offers significant weight savings. Your decision will ultimately balance your need for space and protection against your desire to carry less weight.
Pro-Tips for Setup and Maintenance
Proper use and care are crucial for your shelter's longevity and performance. Always practice setting up your tent or tarp at home before a trip. This ensures you understand the process and have all the necessary components. To extend the life of your tent floor, use a footprint or an inexpensive, lightweight polycro ground sheet. For maximum stability in windy conditions, be sure to stake out all available guy lines; this dramatically increases the shelter's strength. When you pack up, dry your tent completely before storing it to prevent mildew and fabric degradation, which can compromise its waterproof coating over time.
3. Sleep System (Sleeping Bag + Pad)
Your sleep system is the engine of your on-trail recovery, a critical pairing of a sleeping bag and sleeping pad that works together to ensure a warm, restorative night's rest. A sleeping bag provides insulation from the cold air, while the sleeping pad insulates you from the cold ground, a combination essential for safety and comfort. Top-tier brands like Western Mountaineering, Feathered Friends, and Enlightened Equipment specialize in high-loft down bags and quilts, while innovators like Therm-a-Rest and Nemo Equipment lead the way in pad technology. The synergy between these two components is non-negotiable; a 0°F bag is useless without a properly insulated pad, as your body weight compresses the bag's insulation beneath you, rendering it ineffective against the ground.
Choosing the Right System
Selecting your sleep system requires balancing warmth, weight, and comfort based on expected conditions. For sleeping bags, the key metric is the temperature rating, which indicates the lowest temperature at which an average sleeper will remain comfortable. Consider a bag rated 10-15 degrees colder than the lowest temperature you anticipate. You must also choose between down and synthetic insulation. Down offers a superior warmth-to-weight ratio and compressibility, while synthetic performs better when damp and is typically more affordable.
For sleeping pads, the crucial factor is the R-value, a measure of its thermal resistance. A higher R-value means more insulation. For three-season backpacking (spring through fall), an R-value of 2-5 is generally sufficient. For winter camping, a pad with an R-value of 5 or higher is essential to prevent dangerous heat loss to the frozen ground. Many winter backpackers even combine a closed-cell foam pad with an inflatable one to maximize insulation and provide a backup in case of a puncture.
Pro-Tips for Maximizing Warmth and Longevity
Proper use and care will extend the life of your gear and guarantee warm nights. Always store your sleeping bag uncompressed in a large storage sack, not its small stuff sack, to maintain the loft and insulating power of the down or synthetic fill. Before bed on a cold night, eat a high-calorie snack to fuel your body's internal furnace. If your feet get cold, wear a dedicated pair of clean, dry socks to bed, as moisture from day-worn socks will chill you. Always carry a patch kit for your inflatable pad; a tiny puncture can be the difference between a comfortable night and a miserable, sleepless one. By optimizing your system, you ensure you're well-rested and ready for the next day's adventure.
4. Water Filtration System
A reliable water filtration system is an indispensable, life-sustaining component of any backpacking checklist. It grants you the freedom to drink safely from natural sources like streams, rivers, and lakes, eliminating the need to carry heavy water supplies for multi-day trips. Modern systems use advanced technology to remove harmful pathogens, making otherwise questionable water sources potable. Leading brands such as Sawyer, Katadyn, and Platypus utilize hollow fiber membrane filters that physically block bacteria and protozoa like Giardia and Cryptosporidium, while UV sterilizers like the SteriPEN neutralize viruses, a crucial consideration for international travel.
Choosing the Right System
Your choice of water treatment method should align with your trip style, group size, and destination. The most critical factor is understanding the potential contaminants in the water sources you will encounter. In North America, a hollow fiber filter like the popular Sawyer Squeeze is typically sufficient. However, if you're trekking in developing countries where viral contamination is a concern, a UV purifier or a filter with a chemical purification stage is a safer bet. For groups, a high-capacity gravity filter system can efficiently process several liters at once, saving considerable time and effort compared to individual squeeze filters.
To help guide your decision, here is a quick reference for common water treatment methods.
Treatment Type | Best For | Pros | Cons |
|---|---|---|---|
Squeeze Filter | Solo hikers, ultralight backpackers | Lightweight, fast flow, affordable | Requires manual effort, can freeze/break |
Gravity Filter | Groups, basecamp use | High volume, effortless filtering | Slower, bulkier, more setup required |
UV Purifier | International travel, virus concerns | Kills viruses, fast treatment | Requires batteries, ineffective in cloudy water |
Chemical Tablets | Emergency backup, ultralight kits | Extremely light, simple, kills viruses | Requires wait time, can affect taste |
This guide provides a baseline, but always research the specific water conditions of your planned route to make the most informed choice.
Pro-Tips for Safe Hydration and Maintenance
Proper use and maintenance are vital for ensuring your filter's effectiveness and longevity. Before a trip, always test your system to ensure it's functioning correctly. When collecting water, try to choose the clearest, fastest-moving source available. Pre-filtering murky or silty water through a bandana or a piece of cloth can prevent your filter from clogging prematurely. Most importantly, follow the manufacturer's instructions for regular backflushing, which clears debris from the filter membrane and maintains a high flow rate. In freezing conditions, protect your filter by keeping it in a pocket or your sleeping bag at night, as a frozen and cracked filter is completely ineffective. Always carry a small backup, like chemical purification tablets, for unexpected emergencies.
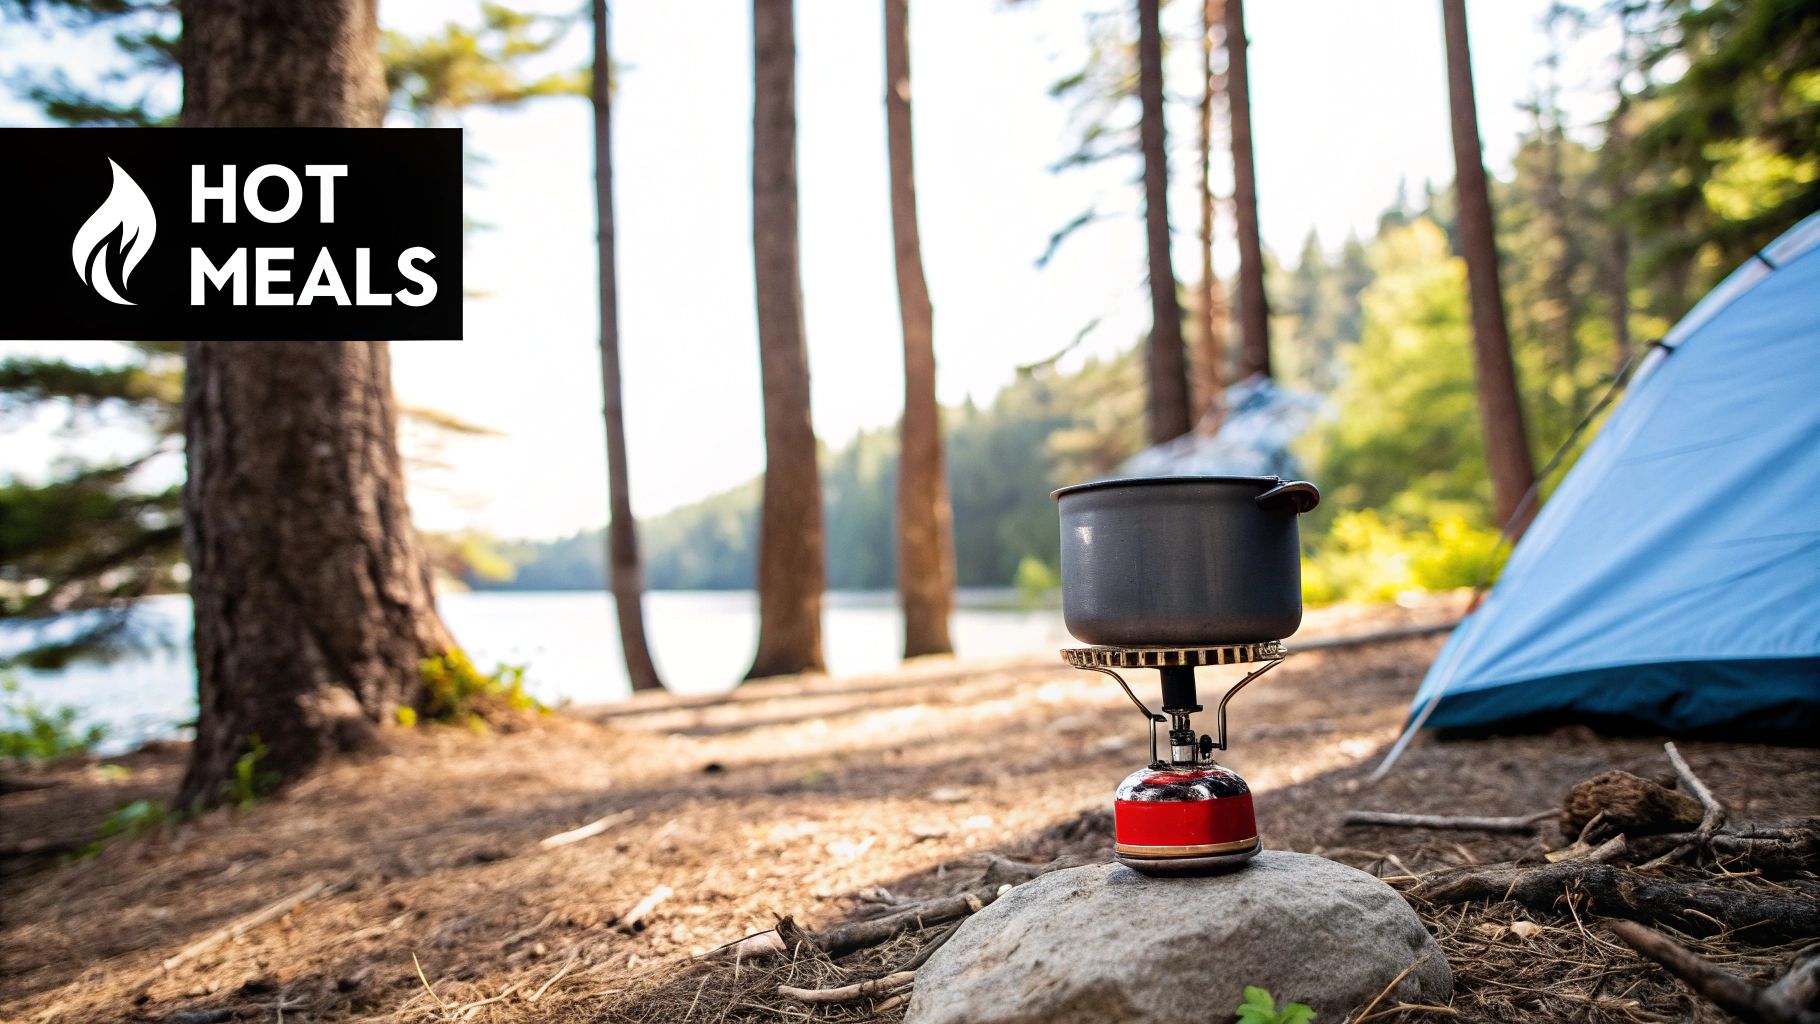
5. Cooking System
A reliable cooking system is an indispensable part of any comprehensive backpacking checklist, enabling you to prepare hot meals and beverages that are crucial for morale, warmth, and energy replenishment in the backcountry. Far from a simple camp stove, a modern backpacking cooking system is a carefully integrated setup of a lightweight stove, efficient fuel, and compact cookware. This synergy maximizes cooking capability while minimizing the weight and bulk you carry. Leading brands like Jetboil, MSR, and Soto have pioneered systems that can boil water in minutes, even in adverse conditions, making a warm meal a simple and quick task after a long day of hiking.
Choosing the Right System
Your choice of a cooking system should align with your trip's style, environment, and group size. There are three main types to consider: integrated canister systems, remote canister stoves, and liquid fuel stoves.
Integrated Canister Systems: Popularized by Jetboil, these all-in-one units combine a burner, pot, and heat exchanger for maximum efficiency, making them ideal for boiling water quickly for freeze-dried meals or coffee.
Remote Canister Stoves: These systems, like many from MSR or Primus, connect to a fuel canister via a hose, offering greater stability on uneven ground and better performance in the cold. They are versatile for groups who want to use larger pots for more complex cooking.
Liquid Fuel Stoves: For high-altitude mountaineering or winter expeditions where canister performance drops, liquid fuel stoves are the standard. They are field-maintainable and operate reliably in extreme cold, though they require priming and are heavier.
Pro-Tips for Backcountry Cooking
Efficient and safe operation of your stove is critical. Before any trip, practice setting up and lighting your stove at home to familiarize yourself with its operation and troubleshoot any issues. Always carry a windscreen, as it dramatically improves fuel efficiency and performance in breezy conditions, saving fuel and time. Plan your fuel needs carefully; a common estimate is about 4 ounces of isobutane fuel per person for a weekend trip focused on simple meals. To maximize every drop of fuel, use a pot cozy to retain heat, which allows your food to continue cooking even after the stove is off. Finally, keep your stove, fuel, and lighter in an easily accessible pocket of your pack for quick access during breaks.
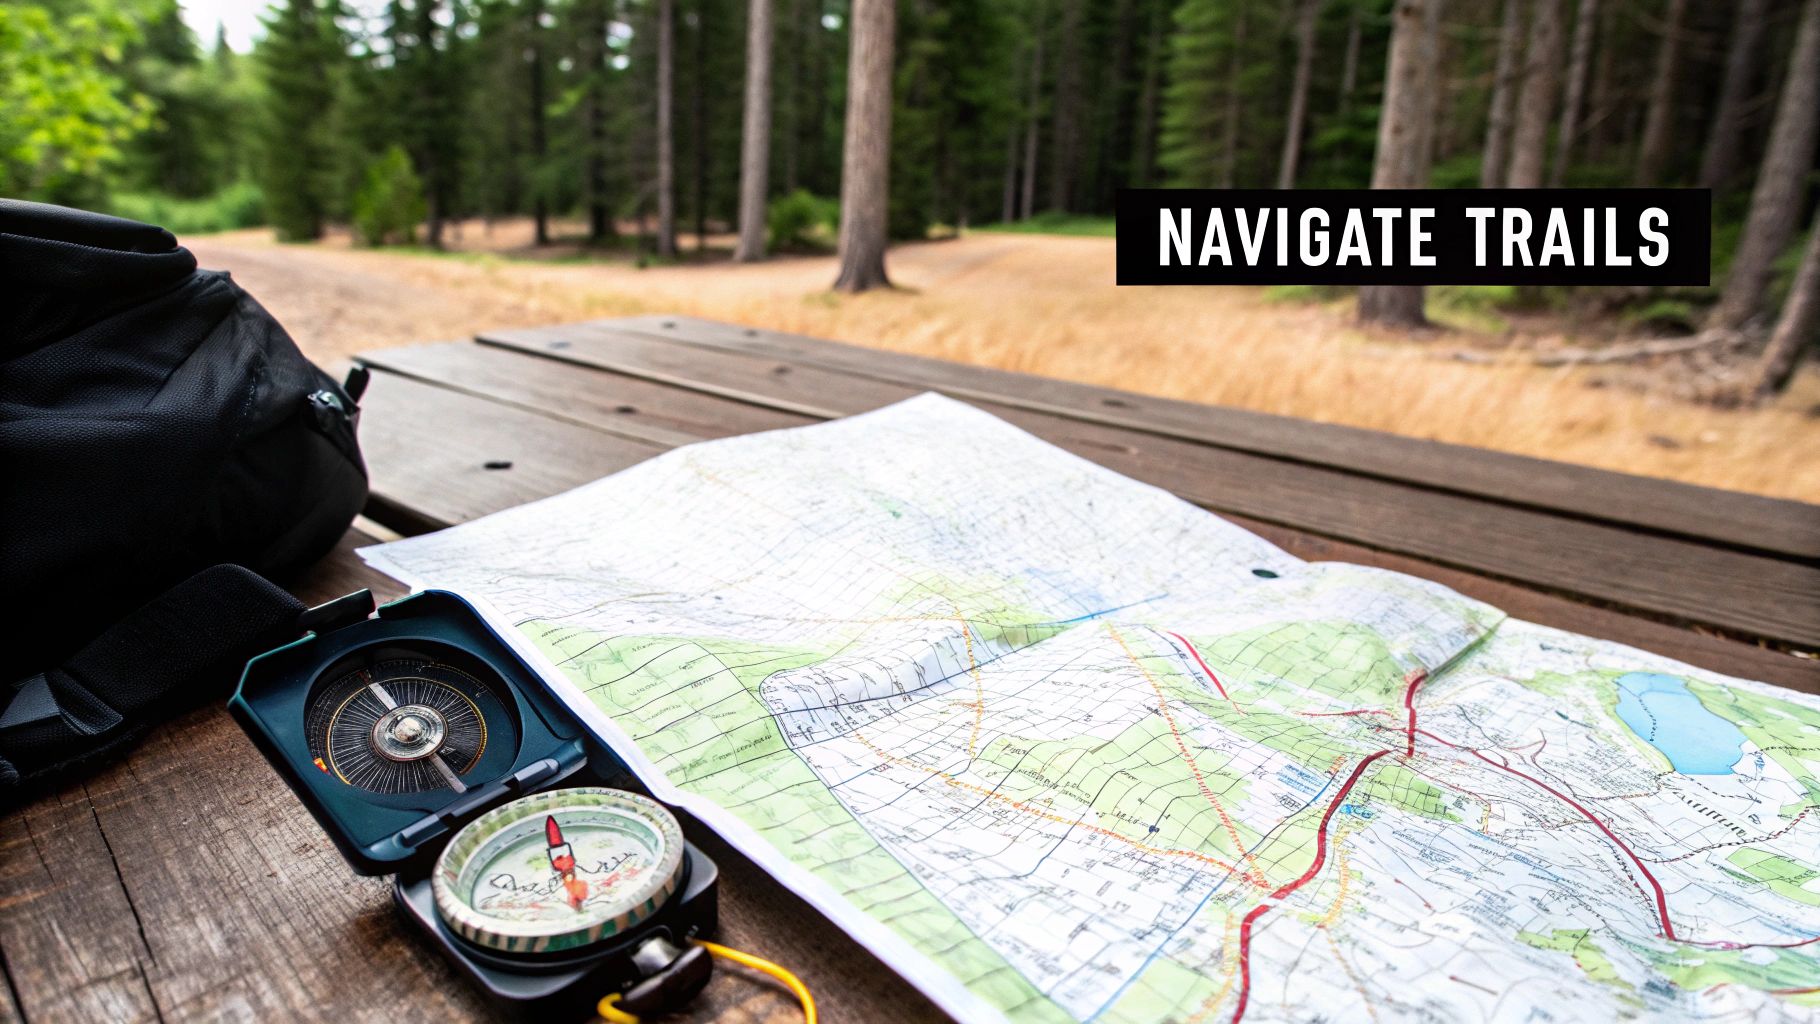
6. Navigation Tools (Map, Compass, GPS)
In the wilderness, the ability to know where you are and where you are going is not a convenience; it's a fundamental survival skill. This is why reliable navigation tools are an indispensable part of any backpacking checklist. While modern technology offers powerful solutions, the gold standard is a redundant system combining traditional and digital methods. This approach ensures you can navigate effectively even if one system fails, a common scenario when batteries die or satellite signals are obstructed. Leading innovators like Garmin, Suunto, and Gaia GPS have revolutionized backcountry travel, but their tools are most effective when paired with classic map and compass proficiency.
Choosing the Right Navigation System
Your navigation kit should always start with a physical map and a compass. The map, ideally a waterproof topographic one from sources like the USGS or a local outfitter, provides the "big picture" of the terrain. A quality baseplate compass, like those from Silva or Suunto, allows you to orient the map and take bearings. This analog duo requires no batteries and is immune to electronic failure. Your digital component, either a dedicated handheld GPS device or a smartphone app like Gaia GPS, offers real-time location tracking and easy route planning. For added security, a satellite messenger or personal locator beacon (PLB) provides emergency SOS capabilities far outside of cell service.
Pro-Tips for Backcountry Navigation
Knowing how to use your tools is more important than simply owning them. Before you rely on a GPS, learn fundamental map and compass skills, such as reading contour lines and shooting a bearing. Practice these skills in a familiar park before attempting a remote trip. Always carry backup power, like a fully charged power bank, and extra batteries for your electronic devices. Before you leave, load your planned route and key waypoints onto your GPS and share your detailed itinerary with someone back home. This simple step is critical; it’s the information that search and rescue teams use to find lost hikers. By combining old-school reliability with new-school technology, you build a safety net that lets you explore with confidence.
7. First Aid Kit
A well-stocked first aid kit is an non-negotiable component of any backpacking checklist, representing your primary tool for managing injuries and illnesses in remote settings. Far from a simple box of bandages, a proper wilderness first aid kit is a carefully curated medical system designed for self-reliance when professional help is hours or even days away. Leading brands like Adventure Medical Kits and retailers such as REI Co-op have developed kits specifically for backcountry scenarios, containing supplies to address everything from severe blisters and sprains to wound care and allergic reactions. This preparedness is essential for preventing a minor issue from escalating into a trip-ending emergency.
Customizing Your Kit
Selecting a pre-made kit is a great starting point, but true preparedness comes from customization. The contents should be tailored to your specific trip length, group size, and any personal medical needs like allergies or pre-existing conditions. For example, a hiker traversing high-altitude terrain in Colorado should include medication for altitude sickness, while someone backpacking in the Southeast may prioritize insect sting treatments and poison ivy care. The key is to think critically about the most likely risks of your specific environment and activities.
To help guide your customization, consider these key areas:
Wound Care: Antiseptic wipes, assorted bandages, gauze pads, medical tape, and blister treatment (e.g., Moleskin).
Medications: Pain relievers (ibuprofen), antihistamines (for allergic reactions), antidiarrheals, and any personal prescription medications.
Tools: Small scissors, tweezers for splinters or ticks, and safety pins.
Specialty Items: Splinting materials, irrigation syringe, or an epinephrine auto-injector if needed.
Regularly check all items for expiration dates and restock anything you use immediately upon returning from a trip.
Pro-Tips for Wilderness First Aid
Carrying a kit is only half the battle; knowing how to use it is what truly matters. Before any extended trip, taking a Wilderness First Aid (WFA) or Wilderness First Responder (WFR) course from an organization like NOLS is one of the best investments you can make. These courses teach you not only how to treat common injuries but also how to improvise with the gear you have and make critical decisions in high-stress situations. Before you leave, practice emergency scenarios with your group so that everyone knows the location of the kit and understands basic procedures. Store your kit in a consistent, easily accessible location in your pack so you can grab it quickly when every second counts.
8. Headlamp and Backup Lighting
Hands-free illumination is an absolute non-negotiable on any backpacking checklist, making a quality headlamp an essential safety and convenience tool. When the sun sets in the backcountry, tasks like setting up a tent, cooking dinner, or navigating a trail become nearly impossible without a reliable light source. Modern LED headlamps from pioneering brands like Petzl and Black Diamond offer powerful, lightweight, and efficient lighting solutions that have become the standard for outdoor adventurers. They provide far more utility than a traditional flashlight by leaving your hands free, which is critical for maintaining balance, using trekking poles, or performing any camp chore after dark.
Choosing the Right Light
Selecting a headlamp involves balancing brightness (measured in lumens), battery life, weight, and features. For most backpacking scenarios, a headlamp offering 200 to 500 lumens is more than sufficient. This range is powerful enough for night hiking yet can be dimmed to conserve battery for use around camp. Consider models with multiple modes, especially a red light setting. Red light is invaluable for preserving your night vision, allowing you to see your immediate surroundings without blinding your campmates or ruining your ability to see the stars. Water resistance is another key feature; look for an IPX rating of at least IPX4 to ensure it can withstand rain and splashing.
Pro-Tips for Illumination and Safety
Proper management of your lighting system is crucial for safety and reliability. Always start a trip with fresh batteries and carry a complete backup set. An even better practice is to carry a secondary light source entirely, such as a small, lightweight keychain light or even a second ultralight headlamp. This redundancy ensures you are never left in the dark if your primary light fails. Before you leave, test your headlamp and familiarize yourself with its different modes and functions. When packing, keep your headlamp in an easily accessible pocket of your backpack, like the top lid or a hip belt pocket. You never want to be digging through your entire pack in the dark to find your light.
9. Weather Protection (Rain Gear)
Weather protection, specifically high-quality rain gear, is a non-negotiable component of any backpacking checklist. It serves as your primary defense against moisture, a critical factor for both comfort and safety in the backcountry. A good rain gear system is more than just a waterproof layer; it's an integrated part of your clothing system, designed to keep you dry from external precipitation while allowing internal moisture (sweat) to escape. Brands like Arc'teryx, Patagonia, and Outdoor Research have perfected this with advanced waterproof-breathable membranes, such as Gore-Tex, which are essential for preventing the clammy feeling that leads to chilling and, in serious cases, hypothermia. This gear ensures that an unexpected downpour in the mountains or persistent drizzle in the Pacific Northwest doesn't just ruin your day but endanger your trip.
Choosing the Right Rain Gear
Selecting the appropriate rain gear involves balancing weight, durability, and breathability. The core of any system is a reliable rain jacket. Look for features like sealed seams, adjustable hoods that can accommodate a helmet or beanie, and waterproof zippers. For comprehensive protection, especially in consistently wet environments or when high winds drive rain sideways, rain pants are invaluable. They keep your legs and hiking pants dry, preventing significant heat loss and chafing. The choice between a 2-layer, 2.5-layer, or 3-layer fabric construction often comes down to intended use; 3-layer jackets offer maximum durability for rugged, off-trail use, while 2.5-layer options provide a great balance of performance and packability for most standard backpacking trips.
Pro-Tips for Staying Dry and Comfortable
Effective use of your rain gear is as important as the gear itself. Always keep your rain jacket and pants in an easily accessible pocket of your pack, so you can deploy them quickly at the first sign of rain without stopping to dig through your gear. To manage temperature and prevent overheating, make liberal use of ventilation features. Unzip pit zips and open cuff or hem adjustments to create airflow during strenuous ascents. Remember that the factory Durable Water Repellent (DWR) coating, which makes water bead up and roll off the fabric's surface, wears off over time. You must regularly clean your gear and reapply a DWR treatment to maintain its breathability and waterproof performance.
10. Multi-tool or Knife
A reliable cutting tool is one of the most fundamental and versatile pieces of equipment on any backpacking checklist, serving as a critical problem-solver for countless trailside tasks. More than just a simple blade, a quality multi-tool or dedicated knife is an indispensable instrument for gear repair, food preparation, first aid, and fire-making. Leading brands like Leatherman, Victorinox (of Swiss Army knife fame), and Gerber have perfected the art of packing maximum utility into a compact, durable, and lightweight form factor. The ability to cut cordage, open food packages, make tinder, or even perform a field repair on a trekking pole can be the difference between a minor inconvenience and a trip-ending problem.
Choosing the Right Tool
Selecting the appropriate tool hinges on a balance between functionality and weight. The choice between a multi-tool and a single-blade knife depends entirely on your needs and trip style. A minimalist hiker might prefer a simple, lightweight folding knife from a brand like Opinel or Benchmade for basic tasks. In contrast, a long-distance backpacker who anticipates more gear maintenance might opt for a multi-tool like the Leatherman Skeletool, which includes pliers, screwdrivers, and a wire cutter in addition to a knife blade.
Consider these factors when making your decision:
Weight: A simple folding knife can weigh under 2 ounces, while a feature-rich multi-tool can exceed 8 ounces. Assess if the extra functions justify the added weight in your pack.
Blade Type: A plain edge is best for clean, precise cuts, while a serrated edge excels at sawing through tough materials like rope or webbing. Some tools offer a combination of both.
Functionality: Do you need pliers for stove maintenance or a can opener for specific food items? List the tasks you realistically expect to perform and choose a tool that matches.
Pro-Tips for Use and Maintenance
Your tool is only effective if it is sharp, clean, and accessible. Before your trip, practice using all its features to build familiarity and confidence. On the trail, keep the tool in a secure, easily reachable pocket on your pack or hip belt, not buried deep inside. After each use, especially with food, wipe the blade and components clean to prevent rust and corrosion. A dull knife is a dangerous knife, so learn how to sharpen your blade properly and touch it up as needed. Proper maintenance ensures your tool will perform reliably when you need it most, whether for slicing cheese for a trailside lunch or making emergency repairs miles from the nearest trailhead.
Backpacking Gear: Key Feature Comparison of 10 Essentials
Item | Implementation Complexity 🔄 | Resource Requirements ⚡ | Expected Outcomes 📊 | Ideal Use Cases 💡 | Key Advantages ⭐ |
|---|---|---|---|---|---|
Backpack | Moderate: requires proper fitting and maintenance of suspension systems | Moderate to High: quality packs can be costly and durable | Comfortable load carrying with organized gear access | Multi-day hiking, long-distance trekking | Excellent weight distribution and durability |
Shelter System (Tent/Tarp) | Moderate: setup practice needed, depends on design complexity | Moderate: weight varies (2-7 lbs), investment in quality materials | Reliable weather protection and private space | Camping in variable weather, alpine expeditions | Weather protection and versatility |
Sleep System (Sleeping Bag + Pad) | Moderate: selecting appropriate ratings and insulation types | Moderate to High: premium materials and technical pads | Quality rest and thermal insulation in diverse climates | Cold weather camping, multi-season trips | Optimal warmth-to-weight, sleep quality |
Water Filtration System | Low to Moderate: regular maintenance needed, filter care essential | Low to Moderate: compact, lightweight but involves replacement | Access to safe drinking water, reduced carried water weight | Long hikes with natural water sources | Removes pathogens efficiently and reduces pack weight |
Cooking System | Moderate: requires fuel management and stove operation skills | Moderate: fuels and stove equipment add weight and complexity | Hot meals and improved morale | Backcountry cooking and group meal prep | Efficient fuel use and reliable ignition |
Navigation Tools (Map, Compass, GPS) | Moderate to High: requires skill in traditional and electronic tools | Low to Moderate: devices vary in cost and battery needs | Safe and accurate route finding, emergency location capability | Wilderness navigation, off-trail exploration | Redundancy of navigation methods, precise positioning |
First Aid Kit | Moderate: requires knowledge and periodic kit update | Low to Moderate: bulk and weight vary, plus training required | Ability to treat injuries and manage emergencies | Remote backcountry trips and group leadership | Critical for safety and emergency response |
Headlamp and Backup Lighting | Low: simple device operation, battery and mode management | Low: lightweight but depends on battery type | Hands-free light for safety, navigation, and camp tasks | Night hiking, emergency use | Multiple brightness modes and long runtime |
Weather Protection (Rain Gear) | Moderate: proper layering knowledge and gear maintenance | Moderate to High: technical fabrics often costly | Keeps wearer dry and prevents hypothermia | Mountain environments, wet weather | Breathable waterproof protection |
Multi-tool or Knife | Low to Moderate: minimal skill but requires maintenance and care | Low to Moderate: compact but adds pack weight | Versatile utility for repairs, food prep, and emergencies | Camp tasks, gear repair, emergency preparedness | Multiple tools in one compact package |
Beyond the Checklist: Cultivating a Mindset for the Trail
We've meticulously detailed the ten foundational pillars of a successful backpacking trip, from your core shelter and sleep systems to the critical tools that ensure your safety and comfort. This comprehensive backpacking checklist is your blueprint for assembling the physical components of your adventure. It ensures you have the right backpack, a reliable tent, a warm sleeping bag, and the means to purify water, cook a hot meal, and navigate challenging terrain.
However, a truly successful and transformative backcountry experience goes far beyond simply owning the right gear. The ultimate goal is to evolve from someone who has a checklist to someone who embodies preparedness. Your gear is a collection of tools, but your most valuable asset is the knowledge, skill, and judgment you cultivate.
From Gear List to Integrated System
Think of your pack not as a bag of individual items, but as a single, integrated life-support system. Each component works in harmony with the others. Your rain gear protects your sleep system from getting wet, your headlamp makes your first aid kit usable after dark, and your multi-tool can perform critical repairs on almost everything else you carry.
True mastery, the kind that athletes and serious adventurers strive for, is achieved through practice.
Practice at Home: Set up your tent in the backyard until you can do it in the dark. Fire up your cooking system to understand its boil times and fuel consumption.
Test Your Limits: Load your pack with its full weight and go for a long day hike on local trails. This shakedown hike is the best way to identify comfort issues, unnecessary items, and gaps in your backpacking checklist before you’re miles from the trailhead.
Simulate Scenarios: What happens if your water filter clogs? How would you splint an ankle using your trekking poles and supplies from your first aid kit? Running through these mental and physical drills builds the confidence to handle unexpected challenges calmly and effectively.
The Mental Pack: Judgment and Adaptability
The most sophisticated GPS unit is useless if you lack the judgment to read the landscape or recognize the signs of an approaching storm. The lightest tent offers no comfort if you pitch it in a flash-flood zone. This is where the mental aspect of backpacking truly shines.
Developing trail wisdom means:
Knowing When to Push and When to Pivot: Being attuned to your body's signals, the changing weather, and the group's morale is a skill. It's the wisdom to know that turning back is not a failure, but a strategic decision that ensures you can adventure another day.
Embracing Improvisation: A broken tent pole, a malfunctioning stove, or a lost utensil are not trip-enders; they are problems to be solved. Your multi-tool, some cordage, and a creative mindset can fix more than you might imagine. This adaptability is the hallmark of a seasoned outdoorsperson.
This backpacking checklist is your starting point, not your final destination. It is a dynamic document meant to be tailored, refined, and personalized with every mile you hike. Let it be the foundation upon which you build experience, the framework for developing confidence, and the catalyst that pushes you out the door. The real adventure isn't just in the places you go, but in the self-reliant, capable, and resilient person you become along the way.
Ready to elevate your gear with apparel designed for the modern adventurer? The same principles of performance, durability, and system integration discussed in this guide are the core of RealOminousAthlete. Explore our collection of high-performance gear built to support your journey, from the trailhead to the summit. Find your next essential piece at RealOminousAthlete.


Comments